How to Record a Software Demo Video: The Complete Setup Guide
In short
Learn how to record a professional software demo video — from screen recording tools and resolution to audio setup and workflow tips that produce clean results every time.
How to record a software demo video is one of those questions that sounds simple until you hit record and realize there are twelve things to get right before the content even matters. A clean screen recording — the right resolution, clear audio, smooth mouse movement — is what separates a demo that builds trust from one that looks like it was made in a hurry.
Here is the full setup guide I use and recommend for SaaS teams, solo founders, and marketers recording their first or fiftieth demo.
Key takeaways
- Record at 1080p minimum; 1440p gives you room to zoom in post without losing sharpness
- Audio quality matters more than video quality — invest there first
- Record in short segments, not one long unbroken take
- Set a fixed window size before every session and stick to it
- The right recording tool depends on your OS, budget, and how much editing you need
What resolution should you record at?
Record at 1920x1080 (Full HD) minimum. If your monitor runs at 1440p or 4K, record at native resolution and export at 1080p — you have room to zoom in without losing sharpness, and the file stays manageable.
Set your display scaling to 100% or 125% on Windows before you start. On Mac, the default HiDPI setting works well. Higher scaling makes UI text hard to read at standard playback sizes.
One thing most people miss: set your browser or app zoom to 100-110%. You want every element readable when a viewer is watching on a second monitor at half-screen size — which is most of your audience.
Which screen recording tool is right for your situation?
You do not need expensive software to record a clean demo. You need the right tool for your editing workflow.
Loom is the fastest path from recording to sharing. Hit record, get a link, send it in Slack or email. There is almost no editing workflow, which is exactly what you want for async sales demos, quick feature walkthroughs, or internal handoffs. The recent version includes auto-captions and an AI trim feature that removes dead air automatically. The free plan limits you to 25 videos; the Business plan runs about $12.50 per month.
Camtasia is the workhorse for polished tutorial content. You record directly into the editor, then add annotations, zoom-and-pan effects, callouts, and captions in one place. The AI noise removal and Smart Cut feature — which automatically removes pauses — saves roughly 45 minutes of editing time on a 20-minute raw recording. It starts at $179 per year. Worth it if you are producing tutorials consistently.
ScreenFlow (Mac only) is the best all-in-one option on Apple Silicon. $149 one-time. Records 4K at 60fps with no performance hit, has a clean editing timeline, and handles multi-monitor setups well. If you are on Mac and prefer to own your software rather than subscribe, this is the pick.
OBS Studio is free, cross-platform, and the most capable raw recorder available. The learning curve is real — it is built for streamers — but once configured it records at any resolution with no watermarks or limits. Best for teams who already know how to edit in a separate tool.
For most SaaS teams starting out: Loom for quick demos, Camtasia or ScreenFlow for produced tutorials.
How to set up your recording environment
Before hitting record, do these five things every time.
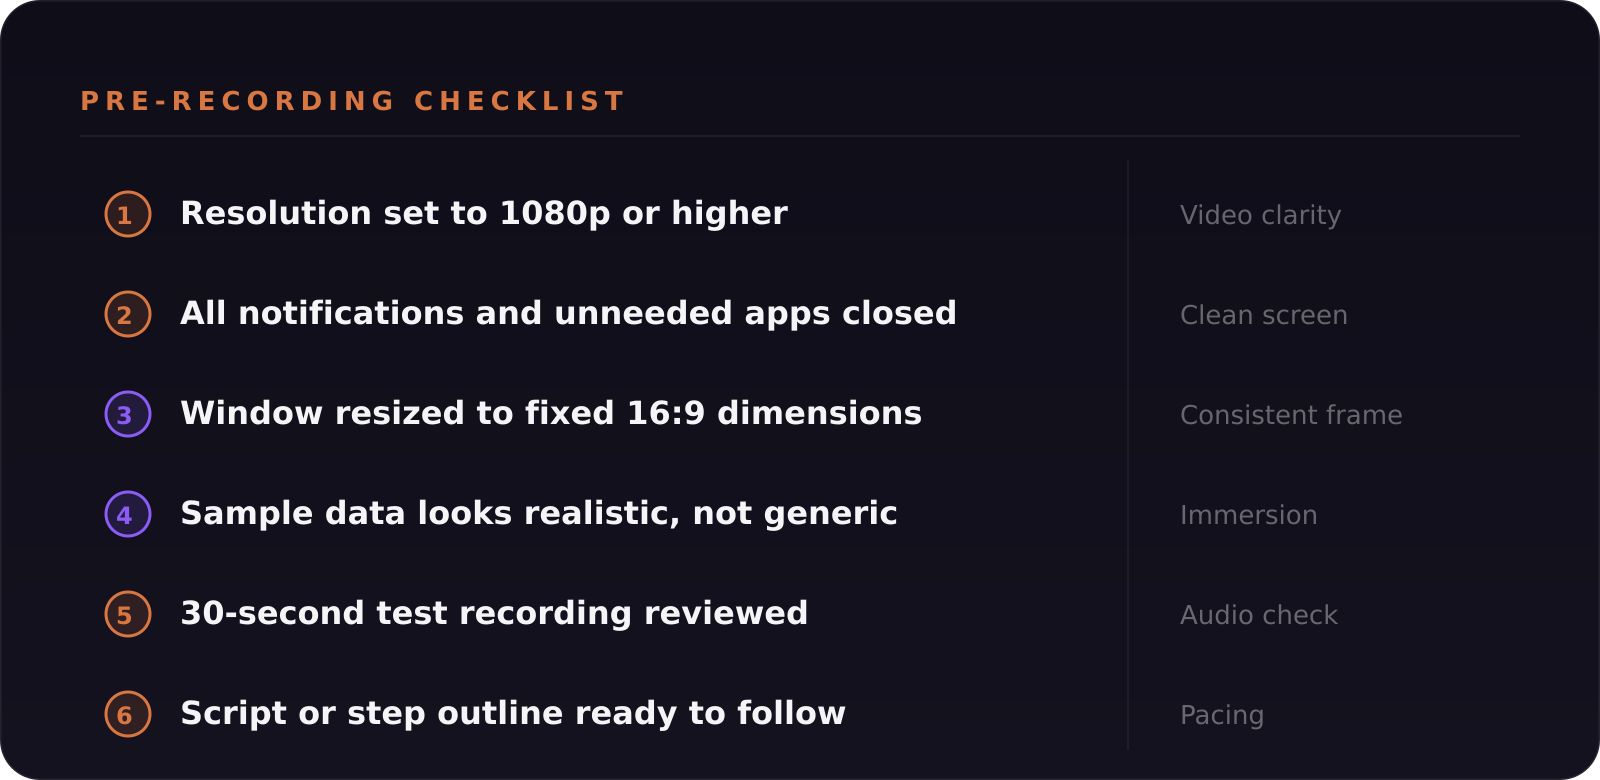
Close everything you do not need. Notifications, browser tabs with personal information, Slack alerts. Put your OS in Do Not Disturb mode. This is non-negotiable.
Set a fixed window size. Resize your app or browser to a consistent dimension — most pros crop to 16:9 before recording, not after. On Mac, Rectangle or Magnet makes this fast.
Use realistic but clean sample data. If you are demoing a dashboard, populate it with plausible numbers. Empty states or obvious test data ("John Doe, [email protected]") breaks immersion immediately.
Write a script or step outline. Not word-for-word — a flow of the steps you are showing. This cuts retakes in half and keeps pacing tight.
Do a 30-second test recording before committing to a full take. Play it back. Check resolution, check audio levels, check that no personal information is visible.
Audio setup — the most important part
Audio quality is roughly 80% of how professional a demo feels. Viewers will tolerate average video quality. They will click away from bad audio within the first fifteen seconds.
You do not need a podcast microphone. A $50-80 USB cardioid mic (Blue Snowball, Samson Q2U) sounds significantly better than a built-in laptop mic. If you use AirPods, you already have a workable option — just record in a quiet space.
A few habits that matter more than the mic itself: record in a small, soft room (a home office with carpet and furniture beats a hard-walled conference room). Turn off fans, AC units, and anything with a background hum. Speak 6-8 inches from the mic, slightly off to one side to avoid plosives on Bs and Ps. And if the production value matters, record your narration separately and layer it over the video in post — this gives you full control over pacing independent of what is happening on screen.
Record in segments, not one long take
Professional editors never record start-to-finish in a single take unless it is a short 2-minute explainer. Instead, record each section separately — feature one, feature two, the troubleshooting flow — then assemble in your editor.
Why it works: you can re-record one segment without losing an entire session. You can swap in updated footage when the UI changes. And pacing is sharper because each segment has a clear start and end.
A good rule of thumb: plan for 3-5 minutes of raw footage per finished minute of output. A polished 4-minute demo typically comes from 15-20 minutes of raw recording.
Mouse movement and click pacing
Slow your mouse down. This is the single most common mistake in software demo recording. Demo presenters consistently move the cursor 2-3x faster than viewers can follow.
Three habits that fix this immediately: move to a UI element, pause for one beat, then click. Use your tool's cursor highlight overlay — Camtasia, ScreenFlow, and Loom all have one — to draw the viewer's eye. And narrate what you are about to click before you click it. "I am going to open Settings here" gives the viewer a moment to find the element before you are already past it.
Pairing your setup with the right video strategy
Getting the recording setup right is the foundation. What you do with the recording — where it lives in your funnel, how you distribute it, how you repurpose it — is what makes the effort compound.
For teams building a full library of tutorial and demo content, pairing this setup with a solid SaaS video marketing strategy means every recording has a purpose before you hit the button. For deeper work on scripting and structure once your setup is locked in, how to script a software walkthrough covers the exact framework I use for step-by-step tutorial content.
If you are ready to produce fully polished software demo videos for marketing or sales — with a narrative arc, proper editing, and distribution strategy — the setup here is the same. You are just adding stronger storytelling on top of a clean technical foundation.
Frequently asked questions
What resolution is best for recording a software demo?
1080p (1920x1080) is the minimum. Record at 1440p if your monitor supports it — it gives you room to zoom in post without losing sharpness and exports cleanly to 1080p for distribution.
Should I record audio separately from the screen capture?
For anything beyond a quick async demo, yes. Recording narration separately lets you control pacing precisely and re-record lines without redoing the screen capture. Camtasia and ScreenFlow both support adding voiceover in post.
How long should a software demo video be?
Keep produced demos under 3 minutes for top-of-funnel content. Tutorial and walkthrough videos can run 5-12 minutes if every minute is teaching something specific. Anything longer needs strong chapter markers or you will lose most viewers before the end.
Was this article helpful?
Jorge Aguilar
Founder & Creator, SaaS Master
Producing SaaS and AI product videos since 2019 — 800+ videos for 200+ brands, covering tutorials, demos, walkthroughs, and explainers. Writing here about the tools, trends, and tactics that actually move the needle. LinkedIn · About · Work with me
Need a product demo, walkthrough, or SaaS explainer?
Client-owned videos that make your product easy to understand — demos, walkthroughs, onboarding, and explainers.
Explore SaaS video productionRelated guides
More Product Demos & Video Marketing →
How AI Companies Should Demonstrate Product Outputs Without Overpromising
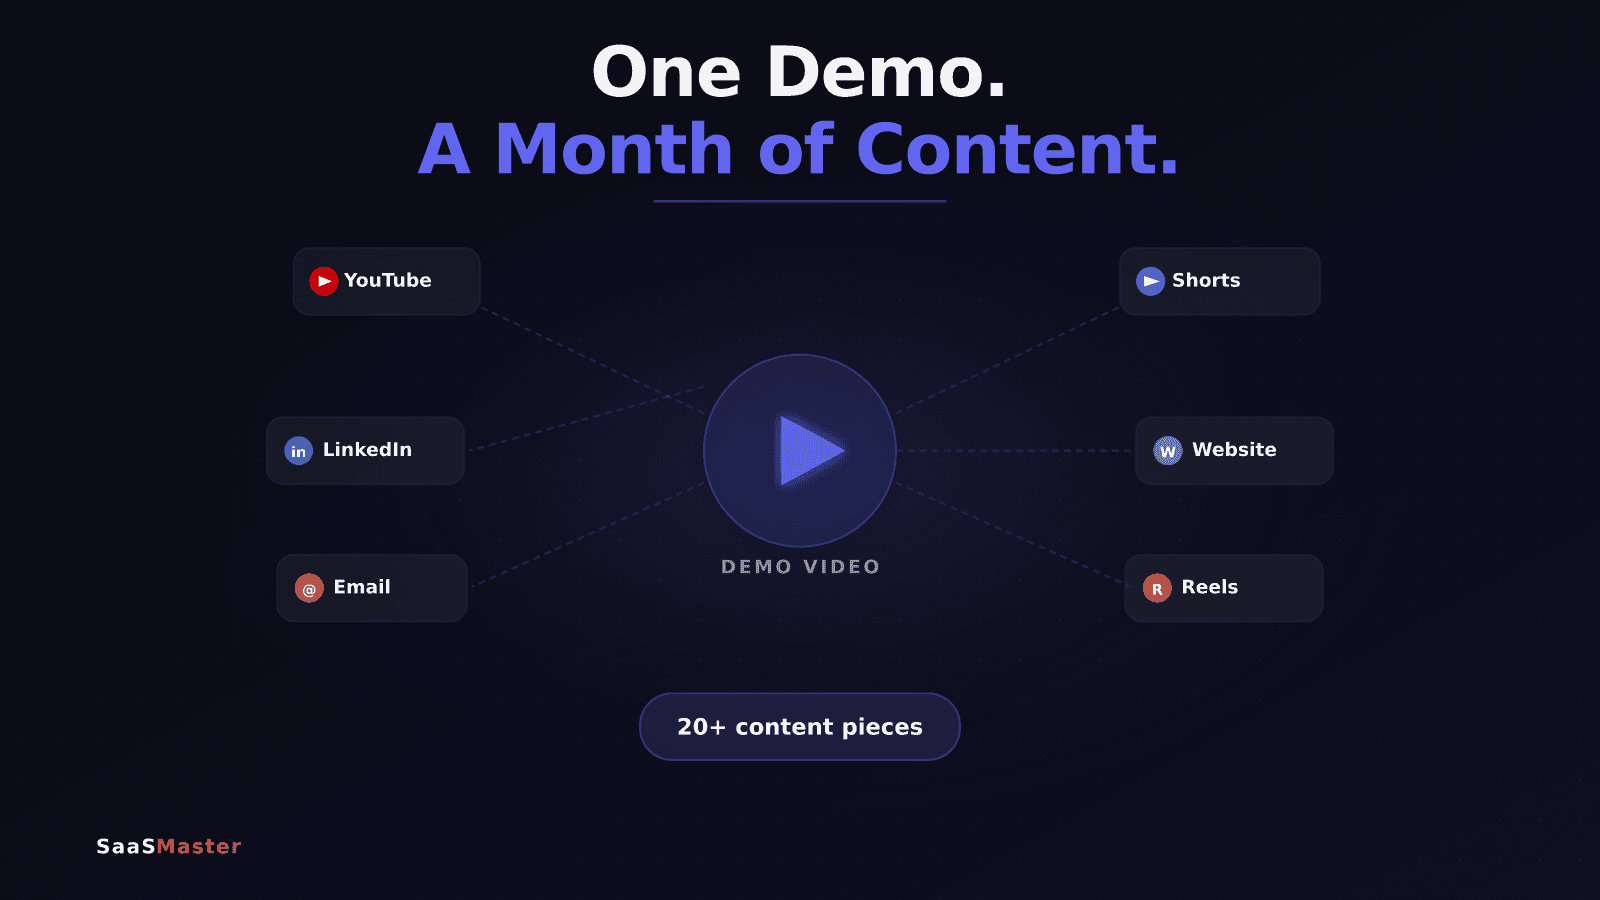
How to Turn One Product Demo Video Into a Month of Content
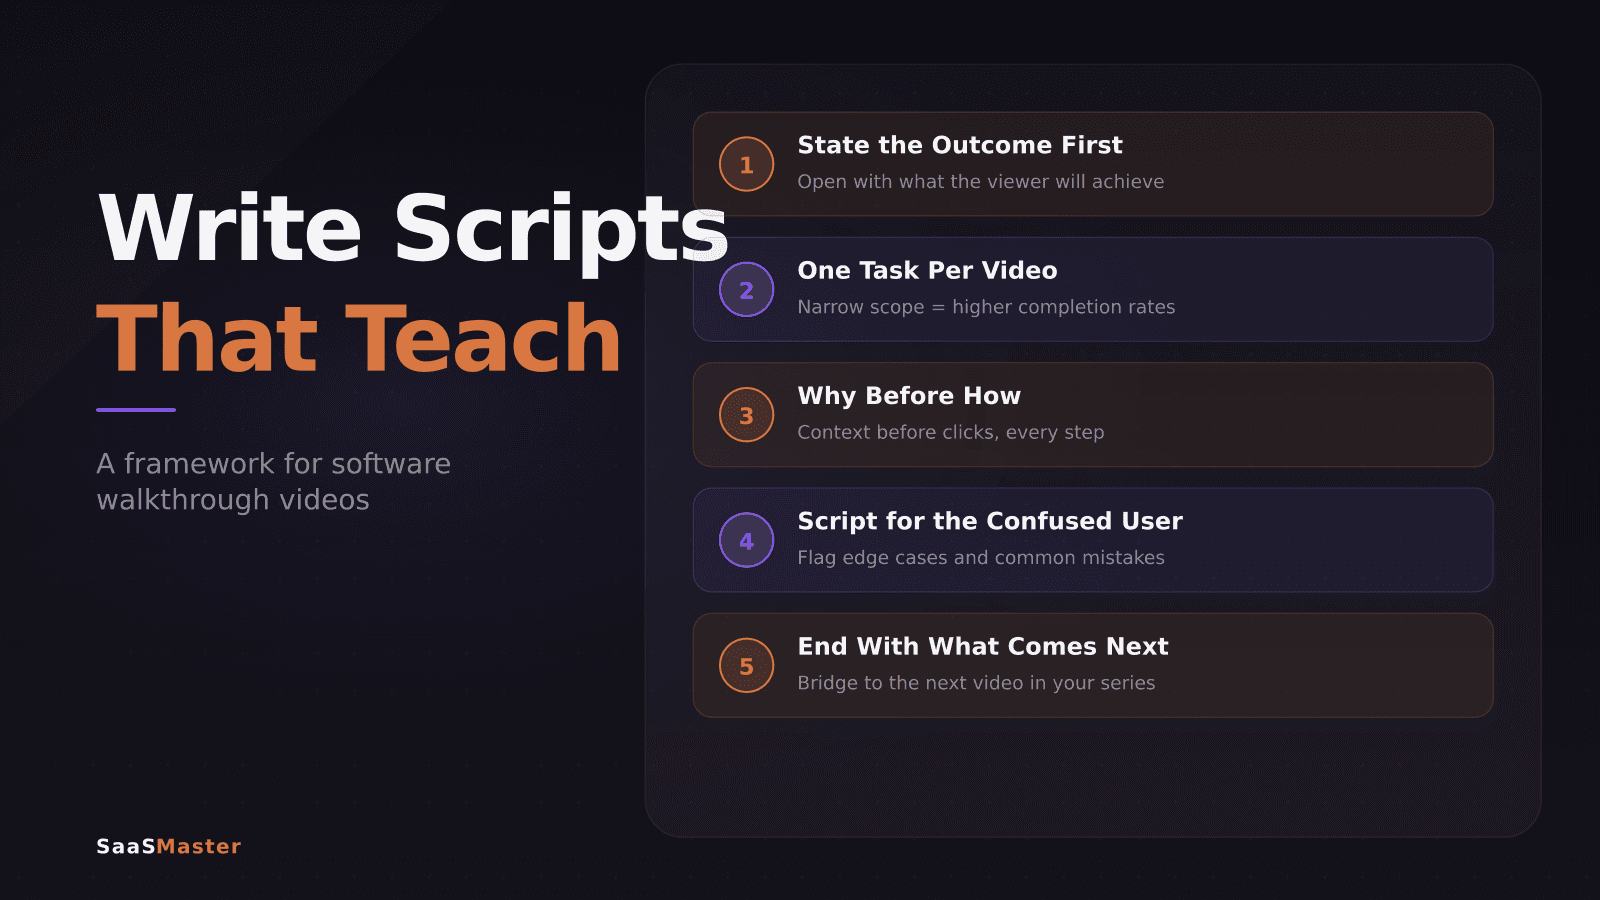
How to Script a Software Walkthrough Video That Actually Teaches